Commercial Kitchen Layout: Complete Planning Guide
Commercial Kitchen Layout: Complete Planning Guide
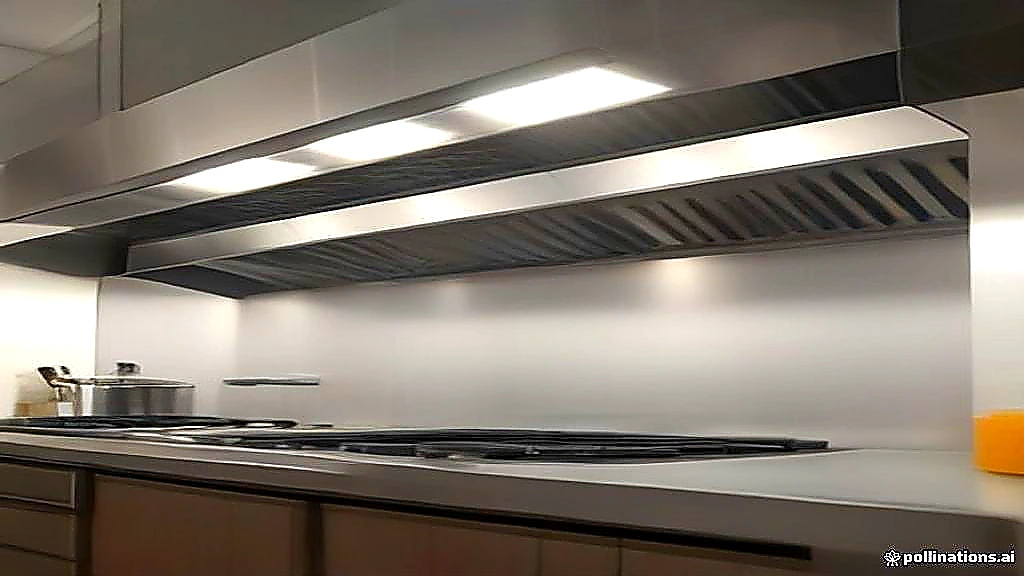
A smart commercial kitchen layout is one of the highest-leverage decisions you make before opening or remodeling. The way stations connect-receiving, storage, prep, cooking, plating, dishwashing, and waste-directly affects ticket times, food safety, labor cost, and how hard your equipment has to work every service. For more background, see Learn more about Commercial Kitchen Layout: Complete Planning Guide.
This Commercial Kitchen Layout: Complete Planning Guide is written for restaurant owners, kitchen managers, chefs, and equipment buyers who need practical planning, not vague design theory. You will find clear guidance on zoning, aisle widths, refrigeration and cooking placement, capacity planning, energy use, maintenance access, and safety codes you should discuss with your designer and local inspector.
Use this guide to compare layout options against your menu, volume, and equipment mix-walk-ins, reach-ins, ice machines, fryers, ovens, grills, and prep lines-so every square foot supports speed, consistency, and cleaner handoffs between stations.
Start With Menu, Volume, and Workflow Goals
Before you draw walls or order stainless steel, define what the kitchen must produce. List every menu item by station, peak-hour covers or tickets, and which steps are hot, cold, or assembly-only. A high-volume burger line needs a different cook-line footprint than a scratch bakery or a seafood house with heavy ice and cold-prep demand.
Translate volume into equipment capacity ranges you can verify with manufacturers and your foodservice consultant. For example, estimate fryer baskets needed during a Friday rush, oven racks for batch roasting, ice production for beverage and cold-holding needs, and refrigerated storage days of inventory based on delivery frequency. Capacity planning prevents the classic mistake of buying undersized cold storage and then overcrowding aisles with temporary coolers.
Decide your service model early: full-service plating, expo window, ghost kitchen packaging, or hybrid. That choice sets the length of the pass, the number of heat lamps or holding cabinets, and whether runners or servers enter the hot line. Write these goals as measurable targets-average ticket time, maximum steps from grill to plate, and maximum walks from walk-in to prep-so the layout can be judged against them.
Map the Path of Food From Delivery to Dish
Sketch a one-way flow: receiving → dry storage and refrigeration → prep → cooking → plating/expo → service, with soiled ware returning on a separate path to dishwashing and waste. Crossing clean and dirty traffic is a common cause of delays and contamination risk.
Mark where raw proteins move versus ready-to-eat foods. Keep raw prep sinks and cutting boards downstream of cooking where possible, or clearly separated with dedicated tools, color coding, and refrigerator shelves organized top-to-bottom by risk level. Your commercial kitchen layout should make the safe path the easy path.
Right-Size Stations Before You Buy Equipment
Assign each station a primary task and the minimum equipment that station owns. A grill station may need a charbroiler, undercounter fridge for toppings, cutting board, and landing space-not an extra convection oven that forces cooks to turn and collide.
Leave landing zones on both sides of fryers and ovens: raw-in on one side, cooked-out on the other. Without that space, pans stack in aisles and break fire-suppression clearances. Measure equipment depth including handles, doors, and required pull-out space before you lock aisle widths.
Core Zones Every Commercial Kitchen Layout Needs
Most successful kitchens organize around five to seven zones that can be compact or expanded depending on square footage. Receiving needs a clean staging area near the back door, a scale if you check deliveries, and clear floor space for carts-never dump product straight into the cook line.
Dry storage should sit close to receiving but out of high-traffic cooking aisles. Use heavy-duty shelving with labeled FIFO lanes. Refrigeration and freezers-walk-ins plus reach-ins-belong where prep cooks can access them without crossing the hottest part of the line. Ice machines need drainage, ventilation clearance, and a sanitary path to beverage or expo without dripping across prep tables.
Prep zones benefit from long, linear stainless tables, undercounter refrigeration for mise en place, and sinks sized for your menu. Cooking lines should group by heat and grease: fryers together under shared hood coverage, grills and ranges clustered, ovens and combi units where heat and steam can be exhausted efficiently. Plating and expo need clear sightlines to the dining room or runners, holding equipment, and a short path from the last cooking step.
Warewashing is often underestimated. Plan dirty-dish landing, scrape/pre-rinse, wash, sanitize or machine cycle, and clean-dish storage so clean plates never travel through the trash area. Position waste and recycling near the back door with tight lids and clear separation from food prep.
Cold Storage, Ice, and Prep Adjacency
Place the walk-in cooler and freezer on an exterior or well-insulated wall when possible, with doors opening onto a prep corridor rather than into the cook line. Reach-ins at the line should hold only what a shift needs; deep inventory stays in the walk-in to cut door-open time and energy waste.
Locate ice machines where condenser heat and noise will not raise prep-room temperature, and where floor drains can handle melt and cleaning water. Confirm water filtration needs for ice quality and machine longevity, and leave service clearance for condenser cleaning-clogged coils are a leading cause of capacity loss.
Hot Line, Hood, and Fryer Placement
Under a Type I hood, group grease-producing appliances-fryers, griddles, charbroilers-together so duct runs stay efficient and fire-suppression nozzles align with equipment. Keep fryers at the end of a line when possible so oil filtration carts and spill risk stay out of the main walkway.
Ovens and ranges need side and rear clearances listed by the manufacturer for combustion air and service. Do not trap a combi oven in a corner where the door swings into the only aisle. Plan a fire extinguisher path and keep combustible storage away from the cooking battery.
Sizing, Aisles, Energy, and Maintenance Access
Aisle width is a safety and productivity decision. Many kitchens target roughly 36 inches for single-cook secondary aisles and 42 to 48 inches or more for main traffic between cook line and prep, but you must follow local code, ADA requirements where applicable, and your hood manufacturer's clearances. Wider aisles help when using mobile carts, sheet-pan racks, and oil caddies.
Equipment footprints should include door swing, drawer pull-out, and filter pull for hoods. A reach-in that looks fine on a floor plan can block a walkway the moment both doors open. Leave space behind or beside refrigeration for condenser airflow; starved airflow raises energy use and shortens compressor life.
Energy planning starts with layout. Shorten the distance between freezer and prep to reduce door-open time. Keep ice machines and refrigeration away from fryer heat when possible. Specify LED task lighting over prep and the pass, and avoid aiming HVAC supply directly at hoods, which can disrupt capture and push grease into the room.
Maintenance access is part of layout, not an afterthought. Filters, grease cups, ice-machine condensers, and fryer filtration need clear approaches. If a technician cannot pull a unit for service without dismantling the line, your uptime-and food safety during outages-will suffer. Build a simple weekly checklist into operations: hood filter cleaning schedule, walk-in gasket inspection, fryer oil quality checks, and drain maintenance for ice and warewashing.
Practical Capacity Checks Before Final Drawings
Walk through a peak-hour simulation on paper: how many pans move from oven to pass, how many fry baskets cycle, how many times the walk-in opens per hour, and where bottlenecks form. If two cooks need the same landing space, redesign before you pour concrete or hang the hood.
Confirm utility stubs early-gas, water, grease interceptor, floor drains, electrical amperage, and data for modern ovens or blast chillers. Moving a floor drain after tile is far more expensive than adjusting the layout now.
Safety, Compliance, and Layout Mistakes to Avoid
Food safety and fire safety shape almost every commercial kitchen layout choice. Separate raw and ready-to-eat paths, provide hand sinks where they are actually used-near prep and the cook line-and keep chemicals in dedicated storage away from food. Floor drains should sit where spills are likely without creating trip hazards in main aisles.
Work with your local health department and fire marshal early. Hood type, suppression coverage, exit paths, and grease interceptor sizing are not optional design flourishes. Equipment must sit fully under the hood canopy with the clearances your code official expects.
Common mistakes include crowding too much equipment under one hood, placing dishwashing so clean racks cross the trash path, putting the ice machine in a hot mechanical closet, and designing a cook line with no plating landing space. Another frequent error is ignoring staff height and reach: shelves too high, undercounter units that force constant bending, or passes that are too tall for consistent plating.
Train the layout as hard as you train the menu. During soft opening, watch collision points, then adjust mobile tables, trash placement, and mise en place before habits set. A flexible commercial kitchen layout uses mobile equipment where codes allow so you can tune workflow after real service data arrives.
Checklist for Owners and Kitchen Managers
Before you approve drawings, confirm: one-way food flow, adequate cold storage days of inventory, hood coverage for all grease appliances, aisle widths that fit carts and oil handling, hand sinks and warewashing capacity for peak volume, ice production matched to beverage and cold-holding needs, and service clearances for refrigeration and cooking equipment.
Bring your chef and lead line cook into the review. Operators catch missing landing space and awkward turns faster than anyone reading a plan set alone.
Frequently Asked Questions
What is the best commercial kitchen layout for a small restaurant?
The best small-kitchen approach is usually a straight or L-shaped cook line with prep and refrigeration immediately behind or beside it, and warewashing on a separate return path. Prioritize one strong workflow over packing in extra appliances. Measure aisle clearances carefully so fryers, ovens, and reach-in doors can open without blocking traffic.
How much space do I need between the cook line and prep tables?
Many operators plan about 42 to 48 inches for the main working aisle so two people and a cart can pass safely, while secondary aisles may be closer to 36 inches if code and equipment clearances allow. Always verify local requirements and manufacturer clearances for hoods, fryers, and oven doors. When in doubt, mock up the aisle with tape on the floor before final construction.
Where should walk-in coolers and freezers go in a commercial kitchen layout?
Place walk-ins near receiving and prep, not at the far end of the hot line. Doors should open into a cool corridor whenever possible so cooks are not standing in the heat with the door open. Keep a short, clear path for carts, and reserve line reach-ins for shift mise en place rather than bulk storage.
How do fryers, ovens, and grills affect hood and layout planning?
Grease-producing appliances generally belong together under a Type I hood with proper suppression coverage. Group fryers, griddles, and charbroilers for efficient exhaust, and give ovens the clearances they need for doors, heat, and service. Never place combustible storage or tight aisles where oil filtration and emergency access are required.
What capacity factors matter most when planning refrigeration and ice machines?
Estimate days of refrigerated and frozen inventory from your delivery schedule, then size walk-ins and reach-ins with room for FIFO and airflow-not wall-to-wall product. For ice, match production and storage to peak beverage, seafood display, and cold-holding needs, and place machines where drainage, ventilation, and filter access are easy. Heat from cooking lines can cut ice output if the machine is poorly located.
How can I improve energy efficiency through kitchen layout?
Reduce walk-in door-open time by placing cold storage next to prep, keep refrigeration and ice equipment out of direct fryer and range heat when possible, and preserve condenser airflow clearances. Efficient hood capture also matters: poor makeup air design can spill heat into the room and force HVAC to work harder. Schedule filter and coil cleaning so equipment runs at design efficiency.
Conclusion
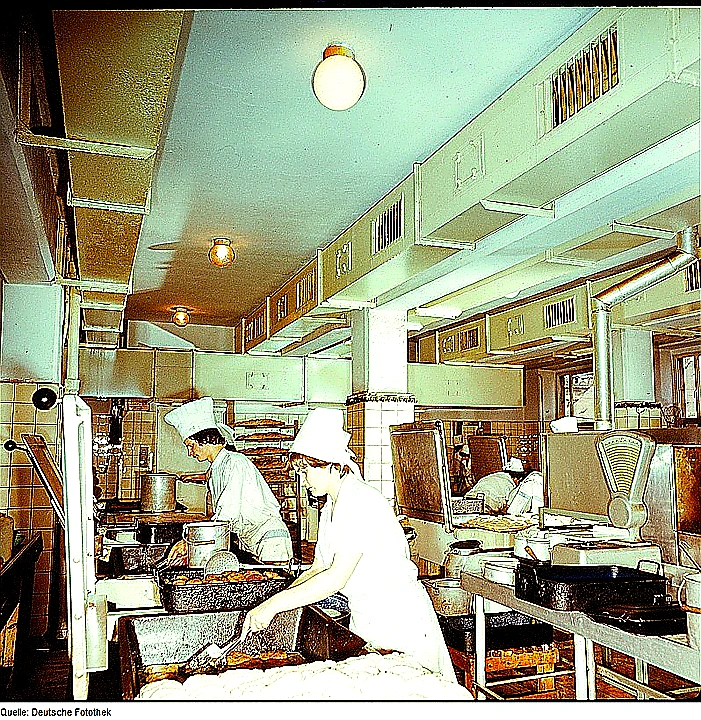
A durable commercial kitchen layout starts with menu and volume, then locks in zones, clear food flow, and equipment that fits real clearances-not wishful floor plans. When refrigeration, ice, fryers, ovens, grills, and prep stations are placed for speed and service access, you gain faster tickets, safer handling, and lower long-term energy and repair costs.
Use this Commercial Kitchen Layout: Complete Planning Guide as your review checklist with your designer, installer, and lead cooks before you finalize utilities and hood work. From there, compare equipment categories that match your stations-cold storage, cooking, and prep-so every purchase supports the workflow you just designed.
Looking for a ready-to-order option? Explore this Commercial Kitchen Layout: Complete Planning Guide on The Horeca Store.
Compare commercial exhaust hood packages and related kitchen equipment at The Horeca Store.
Related Guides
- Ghost Kitchen Equipment List: Complete Commercial Kitchen Guide
- Hotel Kitchen Equipment List: Complete Commercial Kitchen Guide
- How to Choose Commercial Cooking Equipment for a Small Kitchen


Comments
Post a Comment